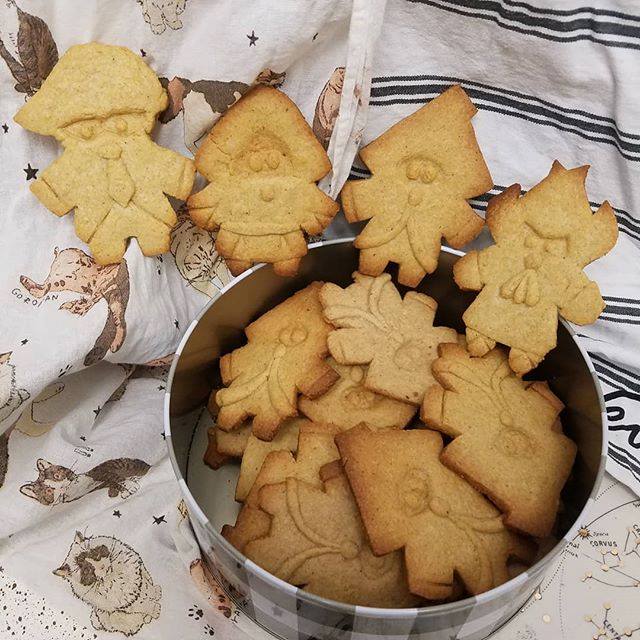
A perfect snack for travelling mages. Or for paying off the interest of one lalafell a week on that home you bough in the Goblet.
You can download the template here. The image is set to 8.5×11 so if you’re on Windows you would want to print it as a “full page photo”.
Ingredients
1 popoto (to carve a stamp from)
1 3/4 cups flour
½ cup almond flour
¼ tsp baking powder
½ cup butter, softened
¾ cup of sugar
1 tsp vanilla extract
½ tsp salt
1 lorg eggie
Spice options, confirmed to be v tasty:
- 2 tsp ginger (the most accurate, perfect for BLMs)
- 1 tablespoon matcha powder (Cooling and mild, perfect for WHMs)
- 1 tsp ginger, 1 tsp gingerbread spice mix (My personal favorite)
Directions:
- Prepare your stencils.
- Carve the stamp for the face/eyes from the popoto.
- Preheat oven to 300F.
- Cream together butter and sugar.
- Add the eggie, vanilla and any liquid flavor agents you may be using.
- Once combined, dump in your dries (flour, almond flour, baking powder, salt and dry flavoring agents). You can sift them into a separate bowl to combine them first but its not required.
- Mix dries into wets. It’ll be a fairly pliable dough and come together quickly. The softer your butter was, the more pliable it’ll be at this stage. If its still sticky at this stage add a little more flour.
- Scoop approx. half the dough up and plop it down on some parchment. Place more parchment over top. Roll out to approx. a ¼” thick. That’s the sweet spot between easy to transfer the cookies to the baking tray and getting it thin so its nice and crisp. Place this bad boy on a cutting board and slide it into the fridge to cool. If you can pick up the parchment en-robed dough and it planks like a champ it’s cooled long enough. If you’re an impatient BLM, you can pop it into the freezer and it’ll be cool enough to work with within minutes. Modern baking problems require modern lazy mage solutions. Repeat this for the other half of the dough.
- Once the dough is cool enough to work with, take it from your Blizzard apparatus, peel off the top layer of parchment and start stamping/cutting. Cookie cutters, springerle stamps and knives all work well. If your cookie stamp or parchment stencil stick too much to the dough instead of peeling off it means your dough is too warm. Return it to the cold to firm up then resume cutting. One of these parchment packets should be enough to fill one baking tray approximately so it’s easier to assembly line things and get this done within an hour to two hour block.
- If you are not using nonstick trays, grease them. If you have nice new non-stick trays you don’t need to grease it.
- Put cookies on tray. They should not spread so you don’t need to leave much space between them.
- If you are working with stamps or delicate details, once tray is filled, put it in the fridge to let the dough firm up for a few minutes.
- Once cookies are firm move tray from fridge to oven.
- There’s no good time estimate as it varies wildly depending on how you shaped your cookie but generally start checking after 5 minutes. You’re looking for the edges to visibly turn golden/brownish. Once they are there remove from the oven.
- You can cool them on the baking tray or use a spatula to pop them off while they are still hot and put them on a rack or plate to cool. I pop them off immediately because I have the one sheet so it is needed to bake more cookies.
Wait for them to fully cool to best appreciate their crispness and let their flavor bloom. They are usually fine in an airtight container/Asylum healing bubble for two weeks to a month.

